Pangea temporary hotfixes here
![SIZE GUIDE](https://resource.logitech.com/w_1800,h_1800,c_limit,q_auto,f_auto,dpr_1.0/d_transparent.gif/content/dam/logitech/ja/products/mice/lift-vertical-ergonomic-mouse/sizing-guide/sizing-guide-desktop.png?v=1)
SMALL
(< 17,5 cm)
(< 6,9 inches)
Less than 3 credit cards
MEDIUM
(17,5 – 19,0 cm)
(6,9 – 7,5 inches)
Just about 3 credit cards
LARGE
(> 19,0 cm)
(> 7,5 inches)
3.5 credit cards or more
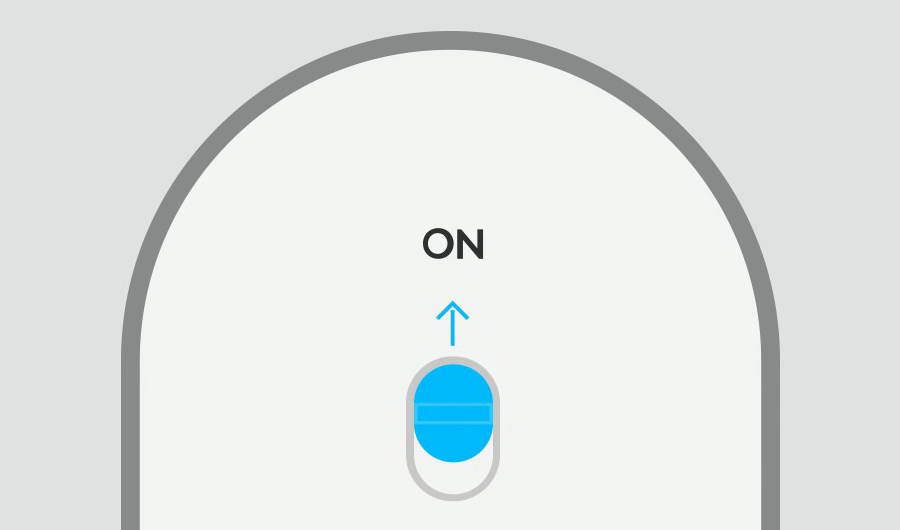
ステップ1/4
![ステップ1/4のイラスト](https://resource.logitech.com/w_1800,h_1800,c_limit,q_auto,f_auto,dpr_1.0/d_transparent.gif/content/dam/logitech/en/setup/ergo-setup/1-of-4.png?v=1)
マウスがオンであることを確認します
マウス底面にあるスイッチを見つけて、ONの位置に切り替えます。
やはり電力が供給されない場合、電池を交換してみるか、または電源ケーブルがマウスに付属されている場合はマウスを充電します。
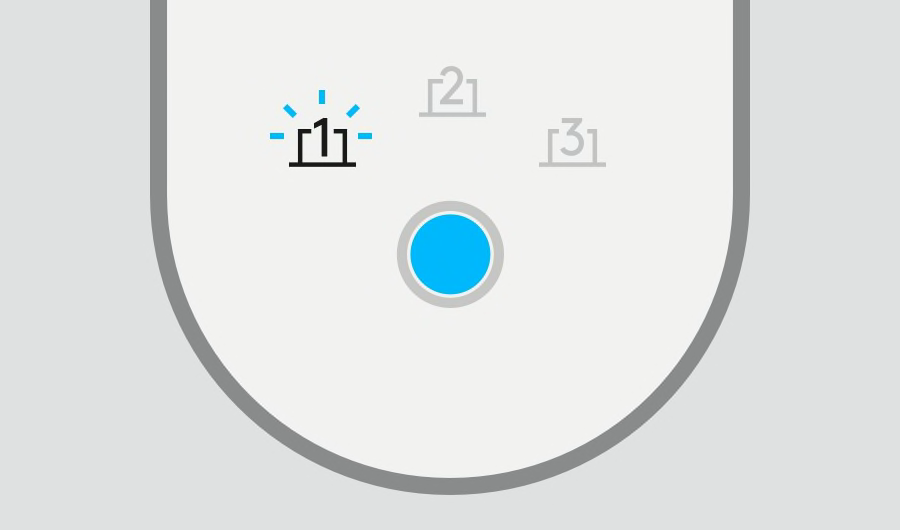
![マウスを裏返してスイッチをオンにします](https://resource.logitech.com/w_1800,h_1800,c_limit,q_auto,f_auto,dpr_1.0/d_transparent.gif/content/dam/logitech/en/setup/ergo-setup/bluetooth-mouse-1.png?v=1)
ステップ2/4
![ステップ2/4のイラスト](https://resource.logitech.com/w_1800,h_1800,c_limit,q_auto,f_auto,dpr_1.0/d_transparent.gif/content/dam/logitech/en/setup/ergo-setup/2-of-4.png?v=1)
Easy-Switch™のLEDライトの1つが点滅するはずです
点滅しない場合、Easy-Switchボタンを3秒間押し続けます。ライトが点滅を開始したら、マウスはパソコンとのペアリング準備ができています。
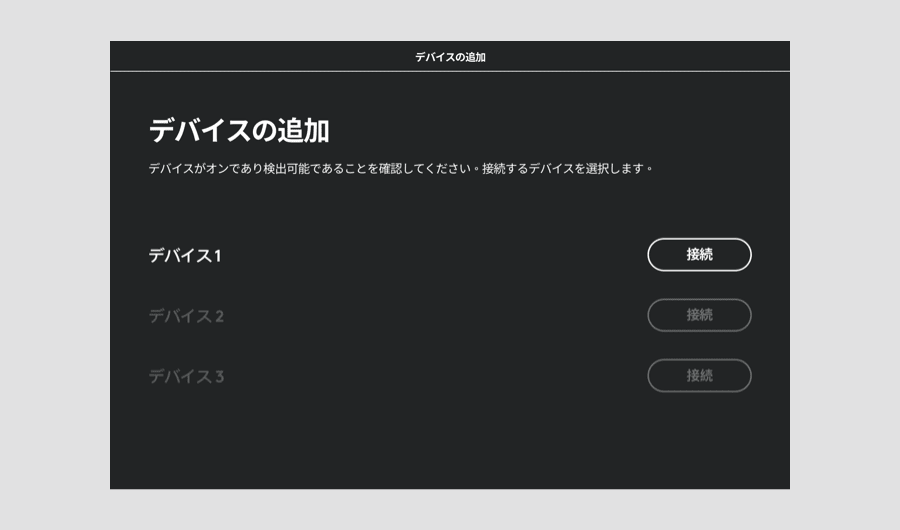
![点滅しているLEDを示すマウス底面](https://resource.logitech.com/w_1800,h_1800,c_limit,q_auto,f_auto,dpr_1.0/d_transparent.gif/content/dam/logitech/en/setup/ergo-setup/bluetooth-mouse-2.png?v=1)
![パソコン上でペアリングを完了します](https://resource.logitech.com/w_1800,h_1800,c_limit,q_auto,f_auto,dpr_1.0/d_transparent.gif/content/dam/logitech/ja/setup/ergo-setup/bluetooth-mouse-3.png?v=1)
推奨のステップ4/4
![ステップ4/4のイラスト](https://resource.logitech.com/w_1800,h_1800,c_limit,q_auto,f_auto,dpr_1.0/d_transparent.gif/content/dam/logitech/en/setup/ergo-setup/4-of-4.png?v=1)
Logi Options+のインストール
Logi Options+は、パワフルかつ使いやすいアプリケーションです。ユーザーが希望する動作方法に合わせてカスタマイズできるため、Logicoolマウスとキーボードの使用体験が強化されます。
Options+を今すぐ探索
MX VerticalまたはMX Ergoマウスのセットアップ中にカスタマイズを行いたい場合、こちらをクリックしてLogicool Optionsをダウンロードしてください
- ステップ1
- ステップ2
- ステップ3
- ステップ4